
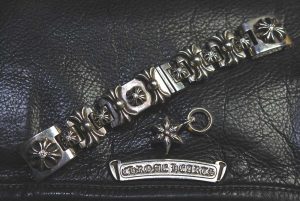
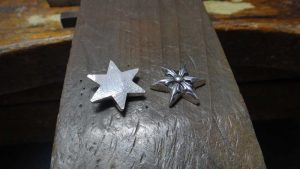
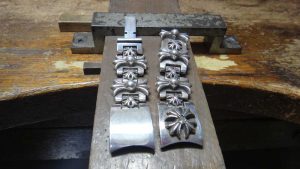
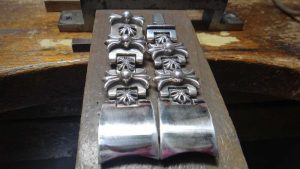
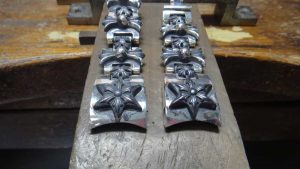
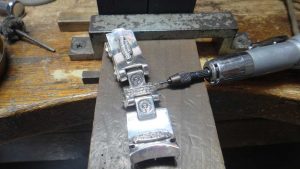
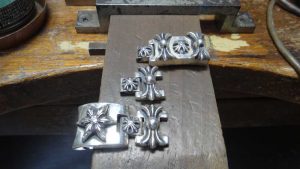
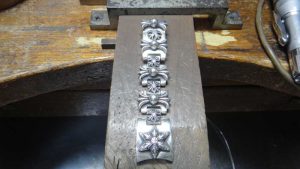
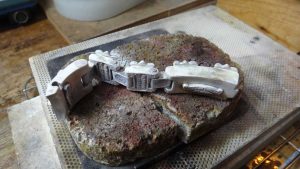
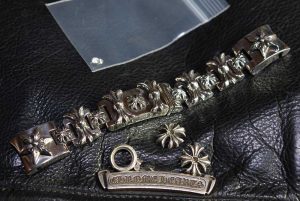
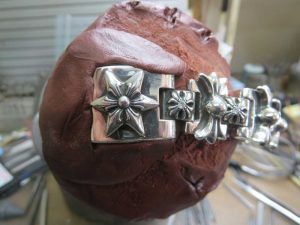
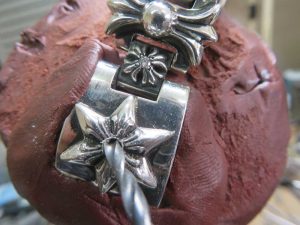
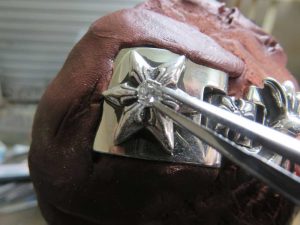
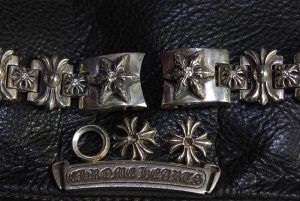
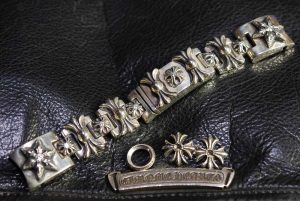
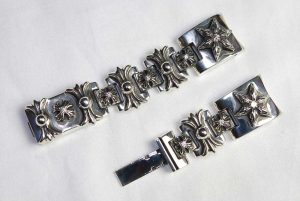
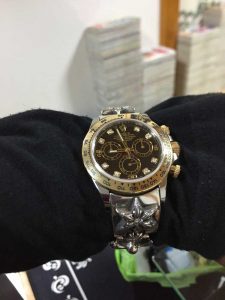
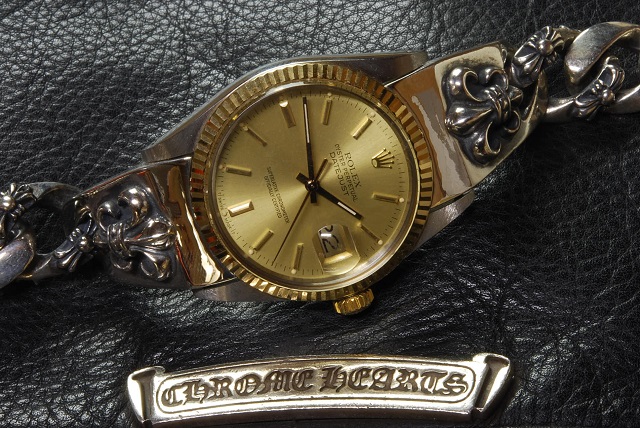
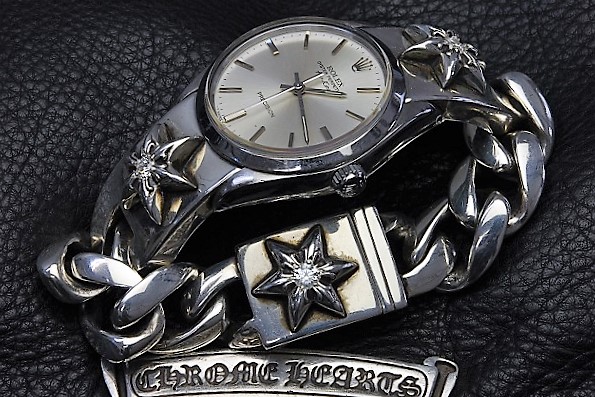
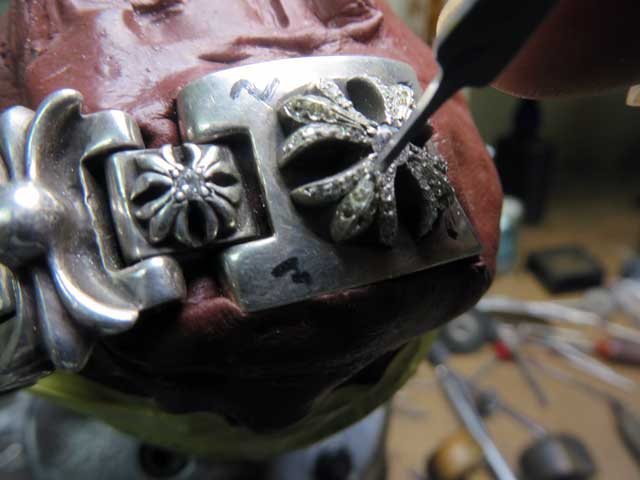
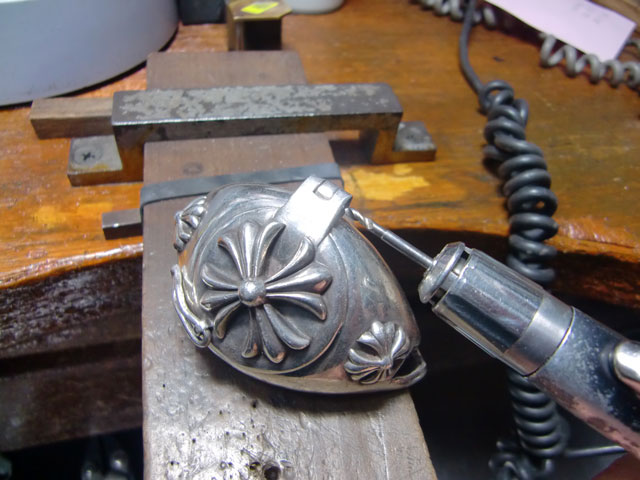
クロムハーツウォッチブレスのメインモチーフを入れ替えて
ダイヤをカスタムしました。
長くなりますが、お付き合いください。
<(_ _)>
![]()
![]()
![]()
![]()
![]()
![]()
![]()
![]()
![]()
![]()
![]()
![]()
![]()
![]()

![]()
![]()


クロムハーツ修理・カスタム事例ブログ|アフターダイヤ・メガネ修理・リング修復(大阪/全国郵送)
一級技能士+GIA GGの職人が、クロムハーツ修理・カスタム事例を解説。料金目安・納期・注意点も掲載。全国郵送OK/LINEで写真見積もり対応。
クロムハーツウォッチブレスのメインモチーフを入れ替えて
ダイヤをカスタムしました。
長くなりますが、お付き合いください。
<(_ _)>
![]()
![]()
![]()
![]()
![]()
![]()
![]()
![]()
![]()
![]()
![]()
![]()
![]()
![]()
![]()
![]()


当店は独立したカスタム・修理工房であり、各ブランドの公式運営・正規代理店・提携企業ではありません。
掲載しているブランド名は、お客様所有品の加工実績説明を目的として使用しております。
各ブランドの商標権・意匠権等は、それぞれの権利者に帰属します。