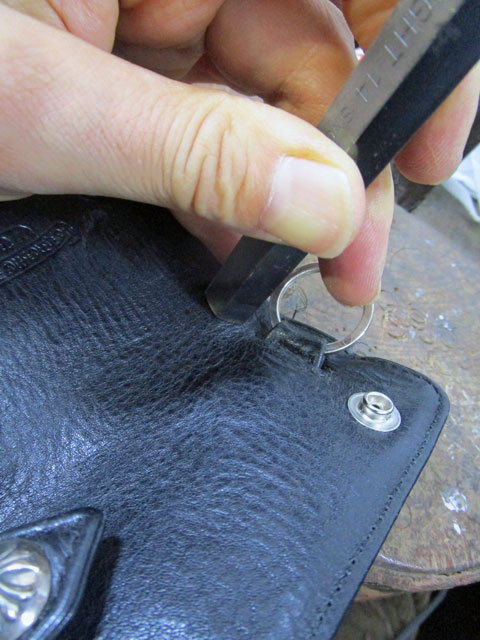
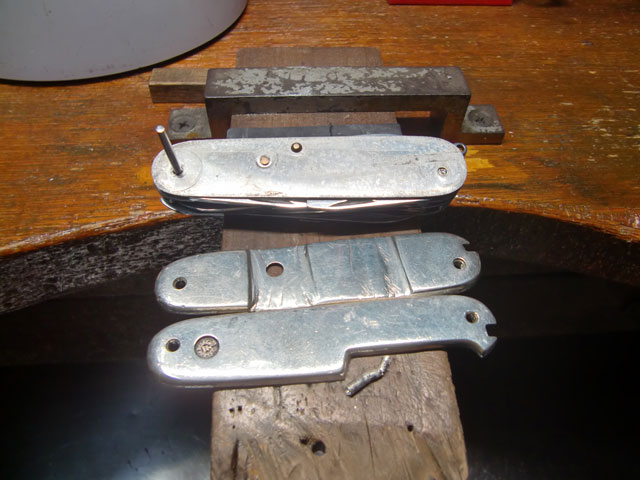
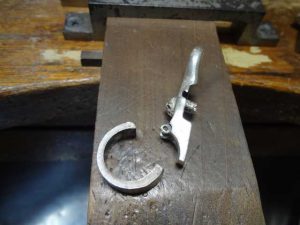
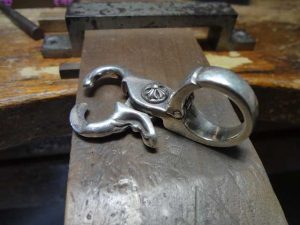
クロムハーツのクリッククリップを修理しました。
真っ二つに、なっています;
![]()
![]()
![]()
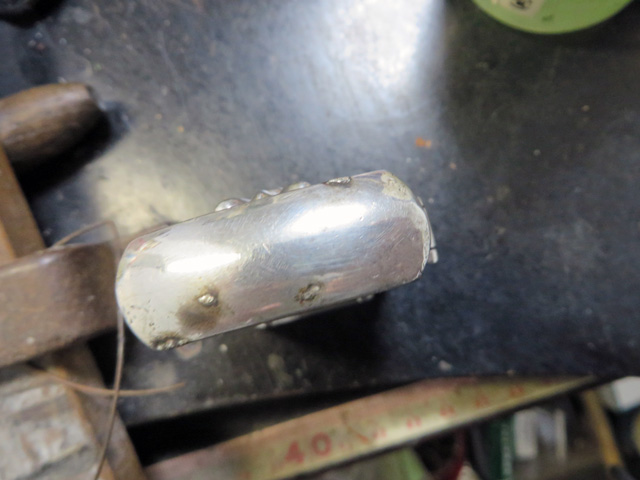
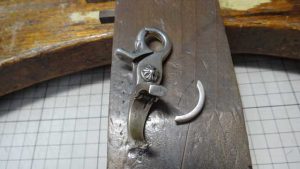
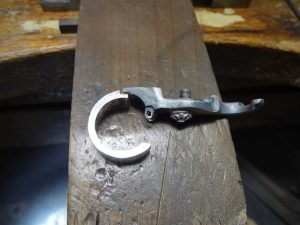
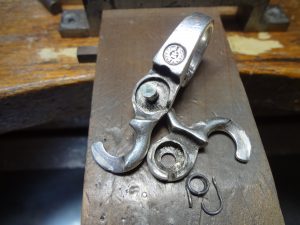
元々の折れた部分より根元の方が厚みがあるので
強度が上がります。
元のパーツを、そのままロウ付けしても
すぐに、再び折れてしまうでしょう。
![]()
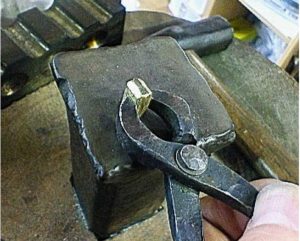
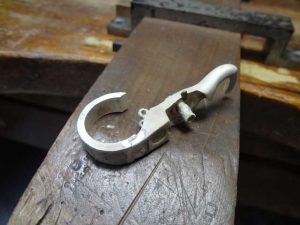
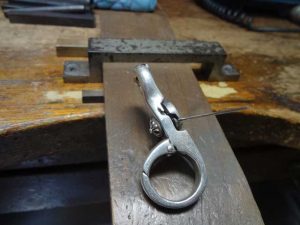
そうすると、表面積が増えるので強度が増します。
![]()
![]()
![]()
![]()
![]()
![]()
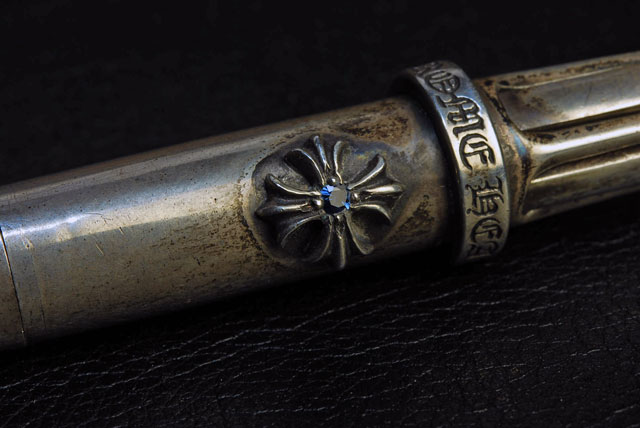
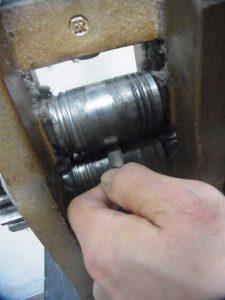
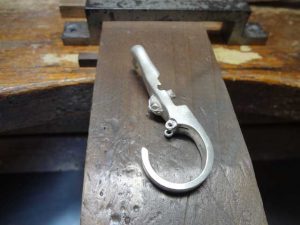
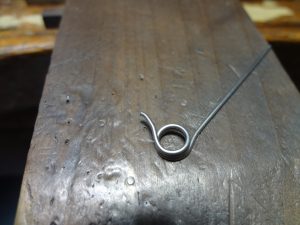
バネが、はみ出ているので切断します。
![]()
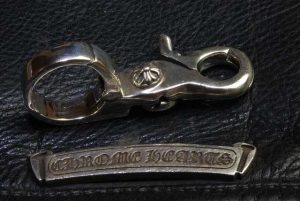
修理代金は、40,000円(税別)でした。
![]()


クロムカスタム工房株式会社
代表 石津 雅之(info@kuromu.com)
◆一級貴金属装身具製作技能士◆
◆GIA GG(米国宝石学会宝石鑑定士)◆
546-0041 大阪府大阪市東住吉区桑津5丁目14-1
(TEL) 0120-958-966
クロムハーツのブログ
クロムハーツ修理ブログ
メールマガジン、バックナンバー http://goo.gl/sthVxi
メールマガジンの登録、解除 https://www.kuromu.com/blog/archives/7098