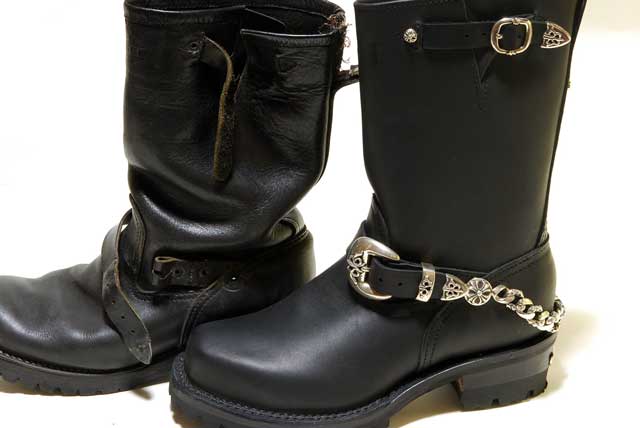
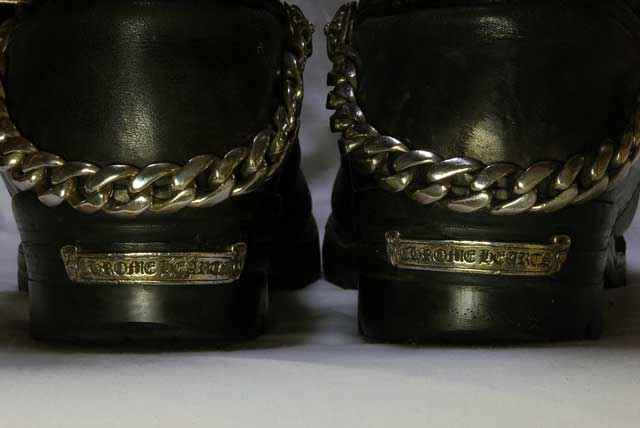
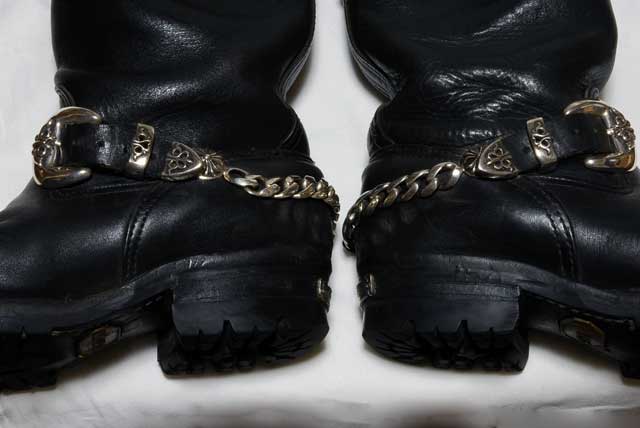
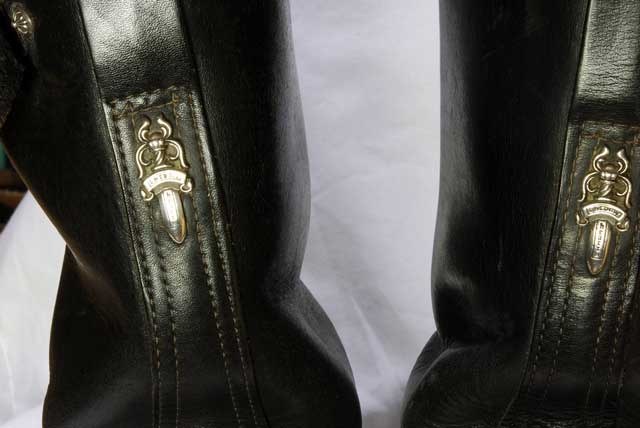
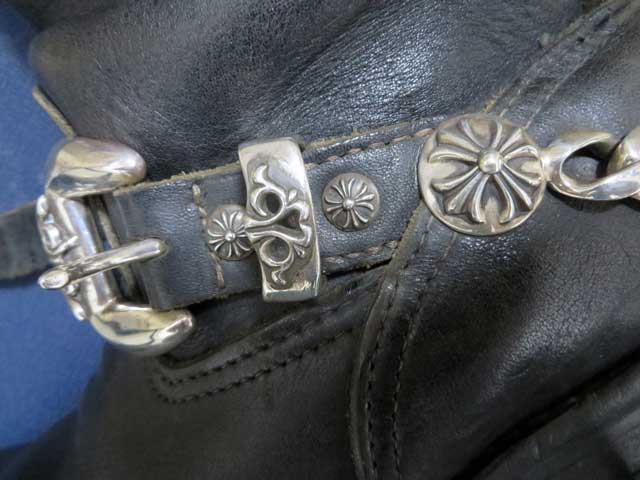
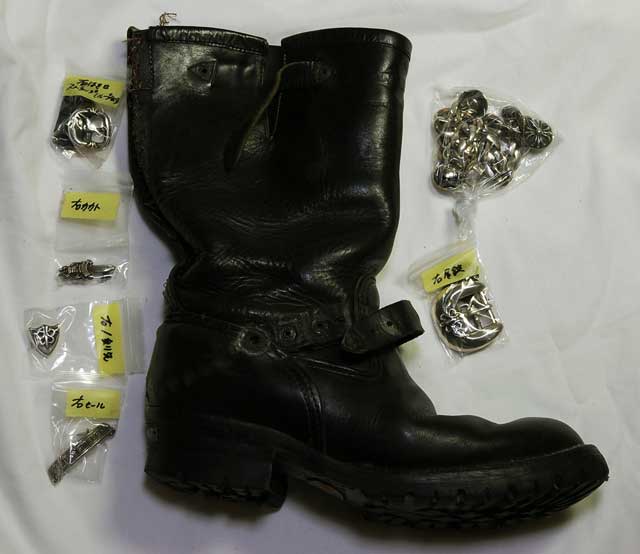
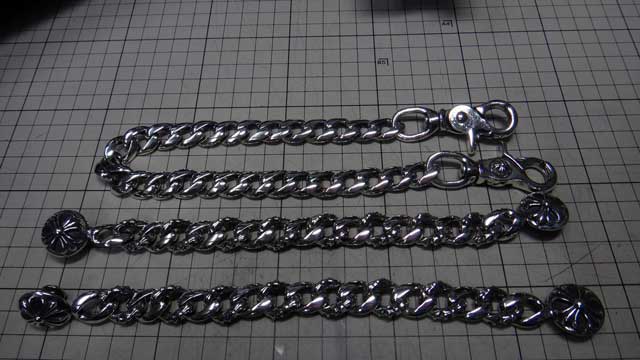
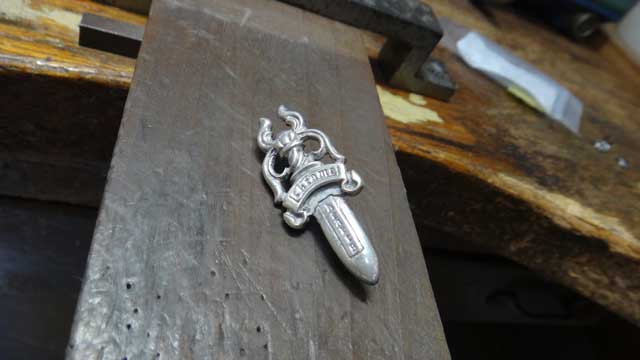
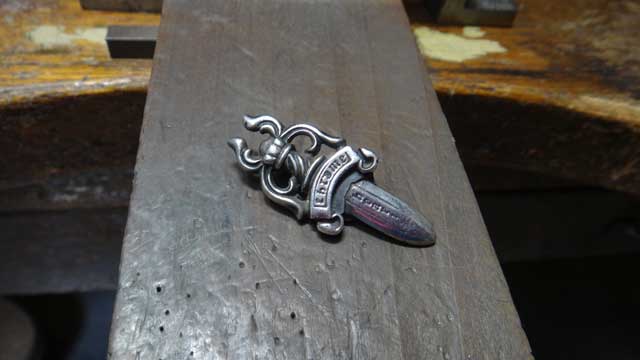
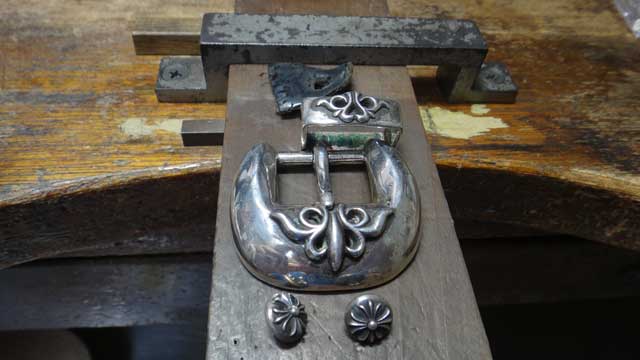
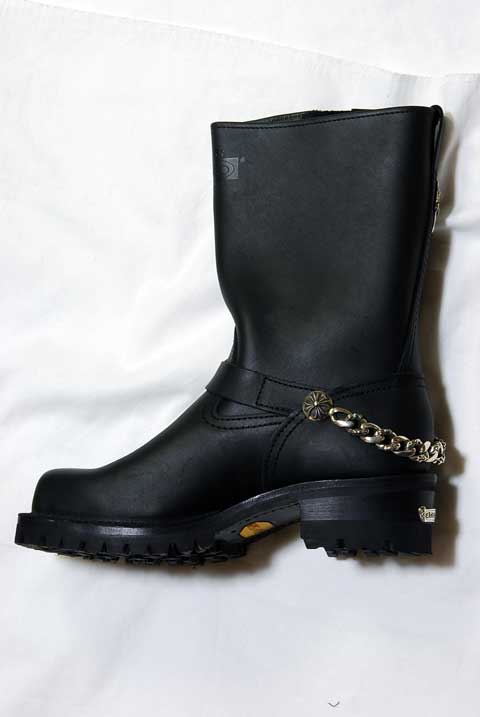
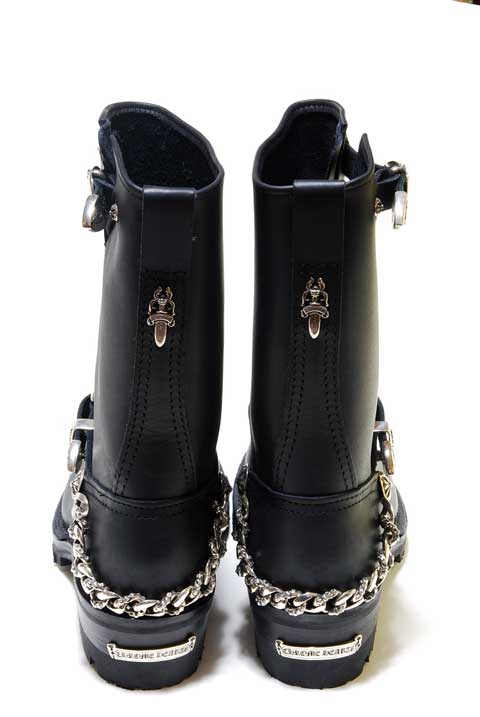
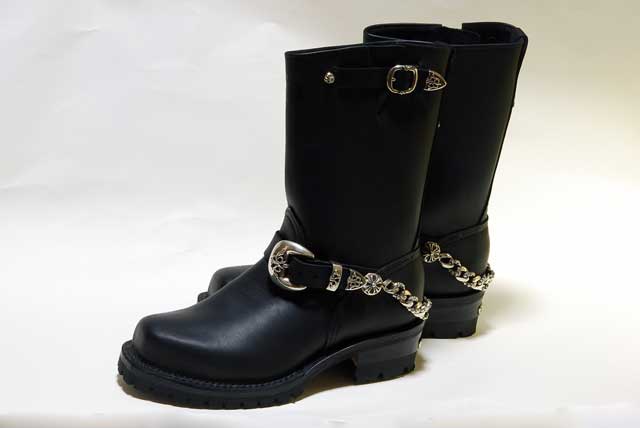
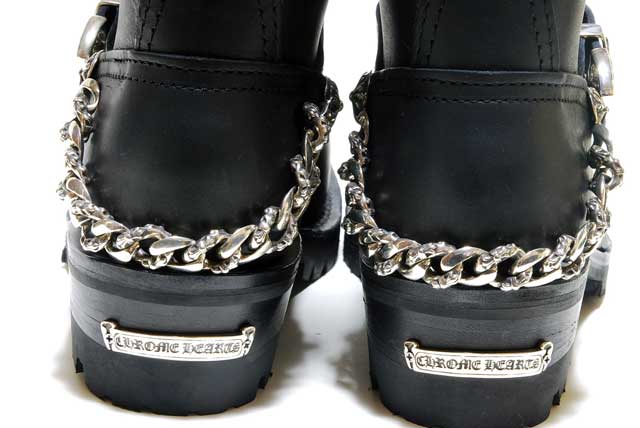
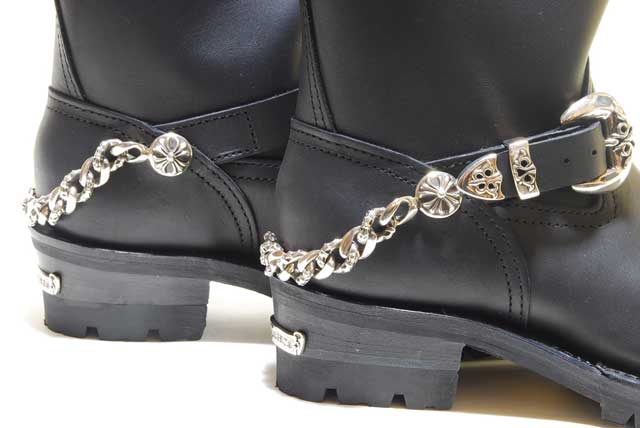
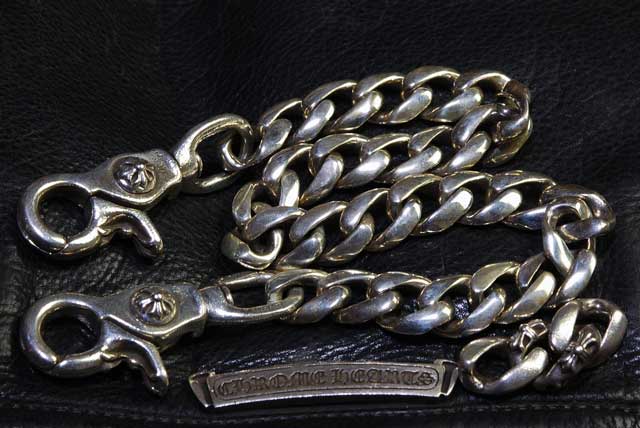
クロムハーツとウエスコのコラボ ブーツのシルバー部分を取り外して
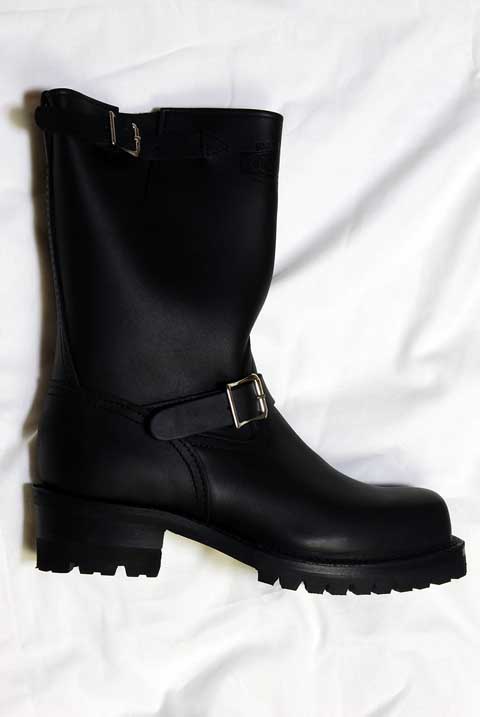
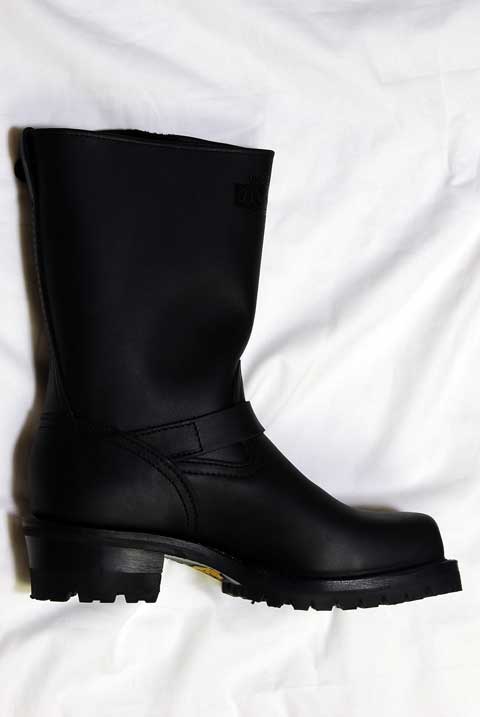
新品のウエスコブーツ『ボス』に付け替えました。
![]()
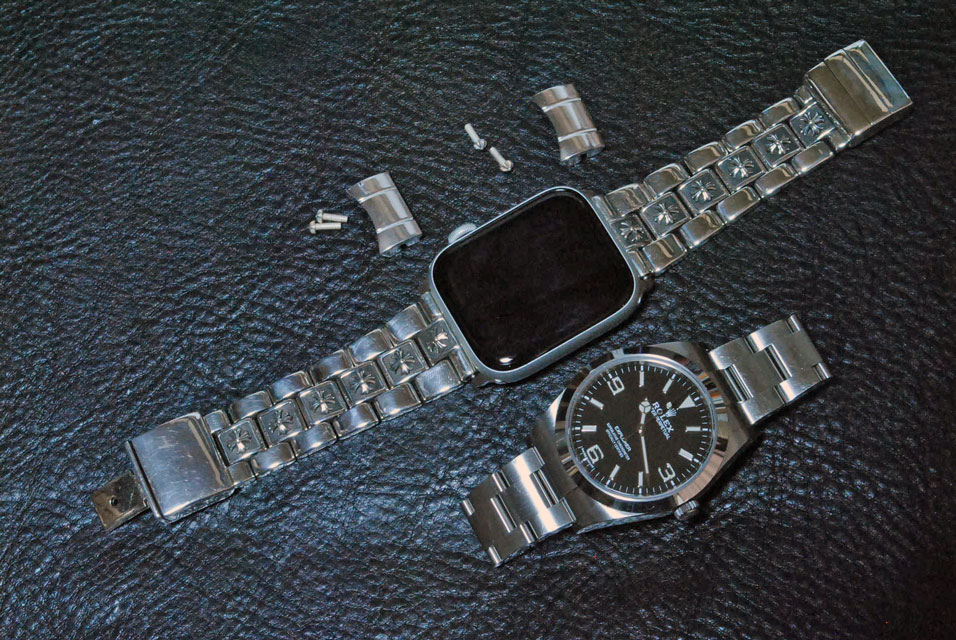
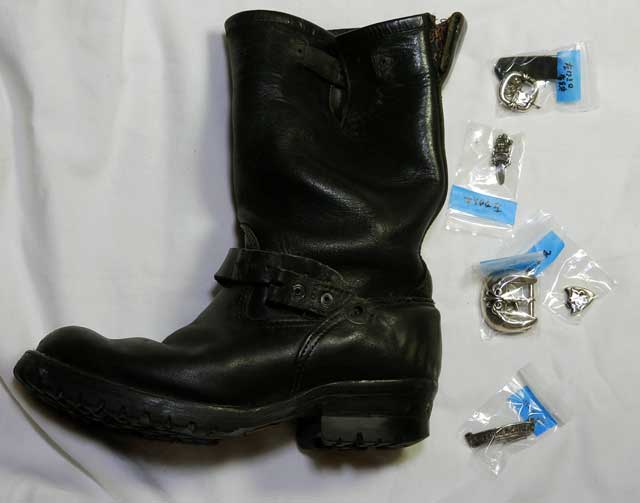
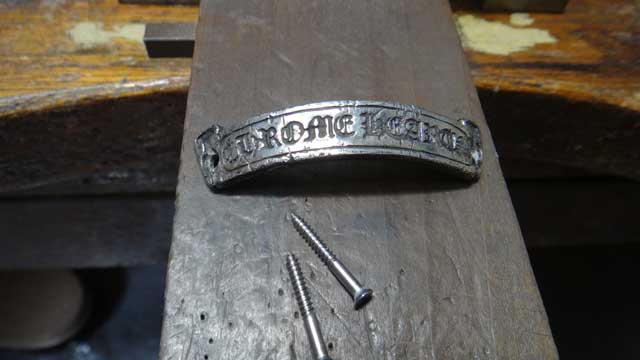
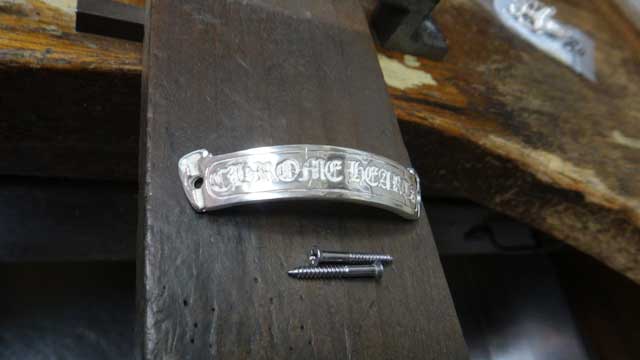
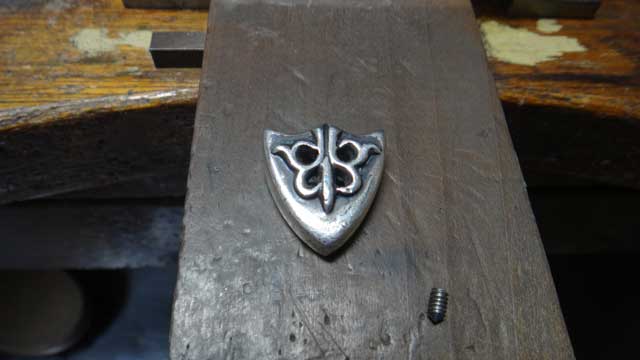
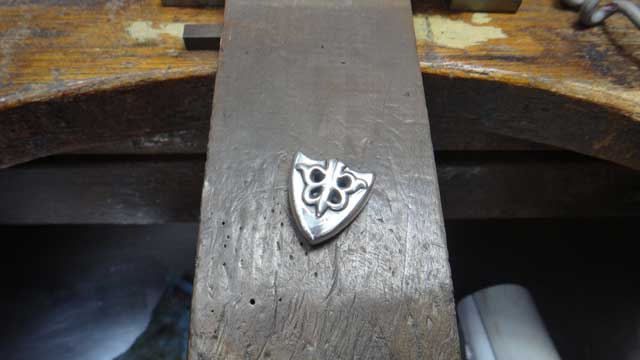
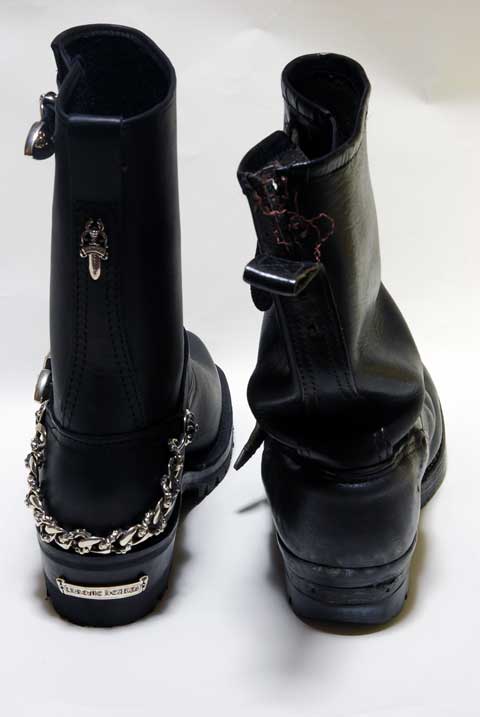
パーツ位置の確認のためにコレを残しておかないと、後で悩むことになります。
![]()
![]()
![]()
![]()
![]()
![]()
![]()
![]()
![]()
![]()
![]()
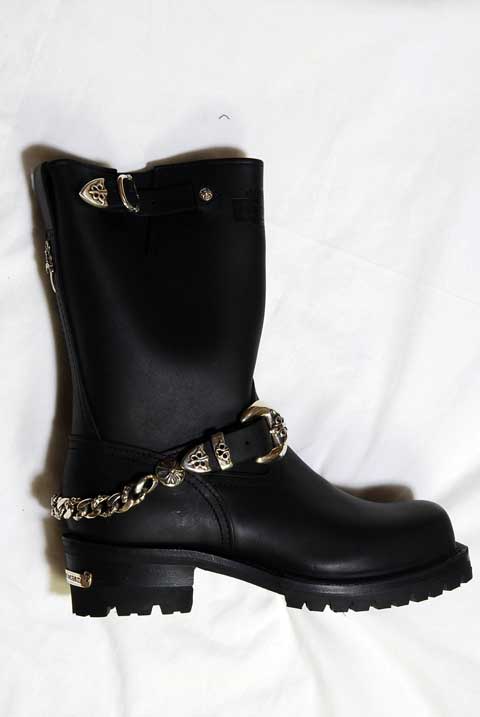


「写真を見てビックリして物が届いて笑顔が止まりませんでした (o´∀`o)
こんなに綺麗に仕上げてくれるなんてさすがクロムカスタム工房だと思います。
これからも安心してカスタムや相談して依頼していきたいと思います。
ありがとうございます(≧∀≦)」
【かかった費用】
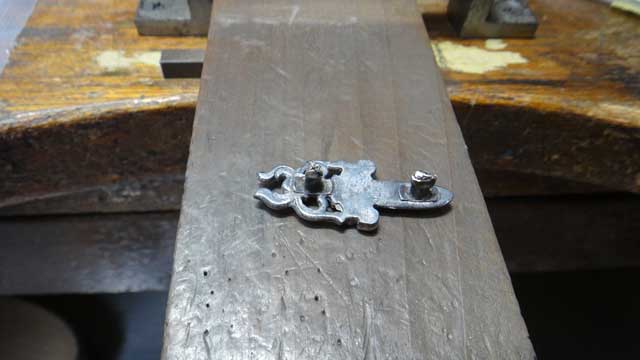
・パーツ取り外し
・取り付けパーツのロウ付け
・取り付けパーツの新品仕上げ
・不足パーツの製作
・パーツ取り付け
__________________________
計 30万円(税別)


クロムカスタム工房株式会社
代表 石津 雅之(info@kuromu.com)
◆一級貴金属装身具製作技能士◆
◆GIA GG(米国宝石学会宝石鑑定士)◆
546-0041 大阪府大阪市東住吉区桑津5丁目14-1
(TEL) 0120-958-966
クロムハーツのブログ
クロムハーツ修理ブログ
メールマガジン、バックナンバー http://goo.gl/sthVxi
メールマガジンの登録、解除 https://www.kuromu.com/blog/archives/7098